Creating Document Folders
When creating files or reporting packages, these will be automatically be added to the Documents section of the property menu. If you would like to add other files, you can create a new folder to house those documents.
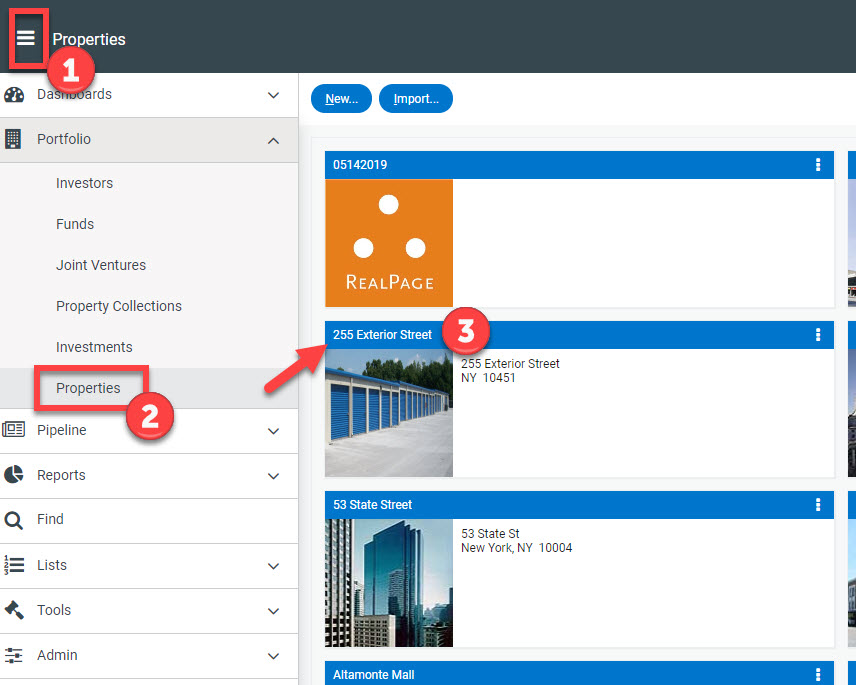
To create a folder, you’ll first need to select your property. You can do this by clicking the Menu Icon > Portfolio > Properties > Then select your desired property.
Once inside the Property Profile, you’ll want to select Documents from the left menu, then simply click the ‘Create a New Folder’ button in the upper left hand side and give your folder a name.
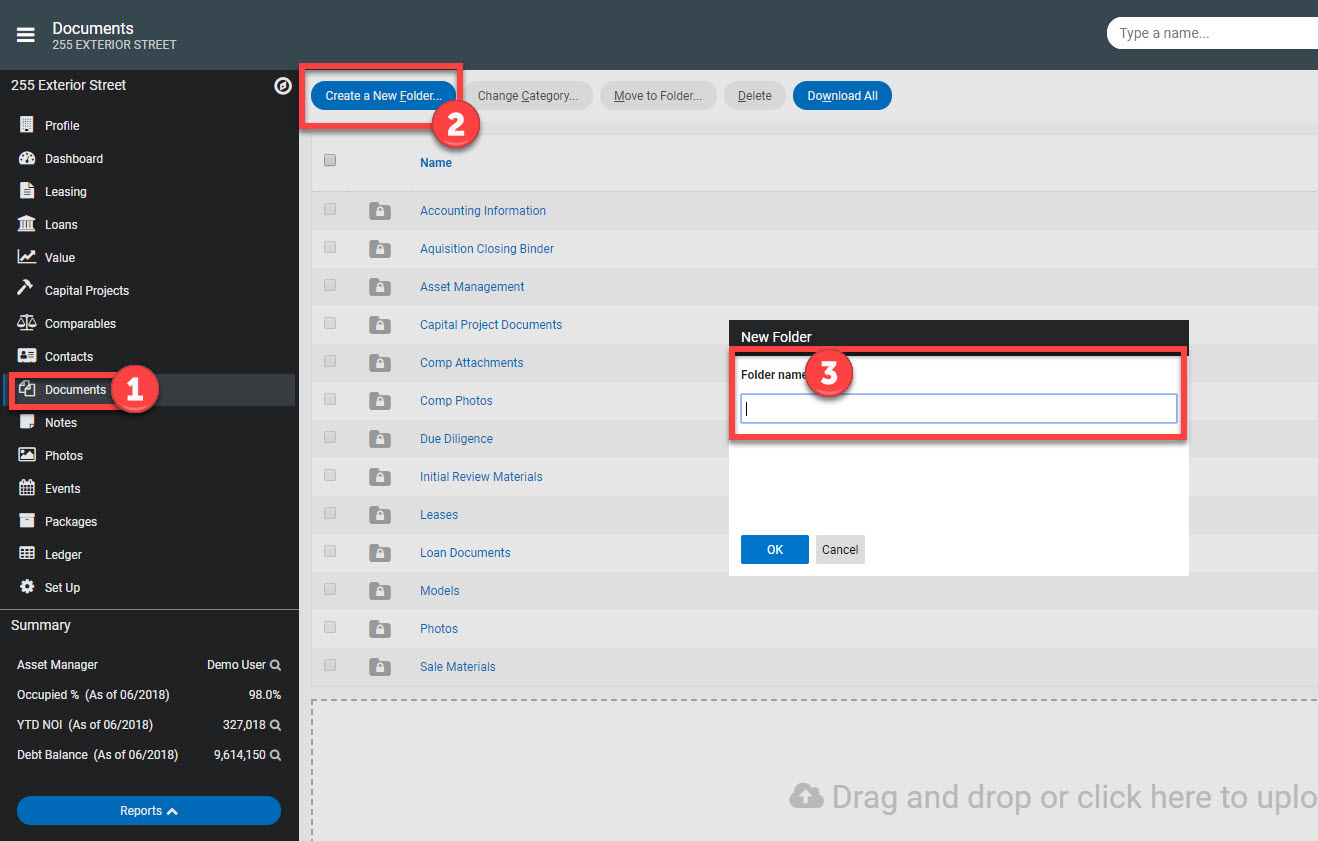
Once done, you can click OK and your folder should be added to your existing list. You can click into the folder and add documents to that specific folder or simply load them at the outer most level.
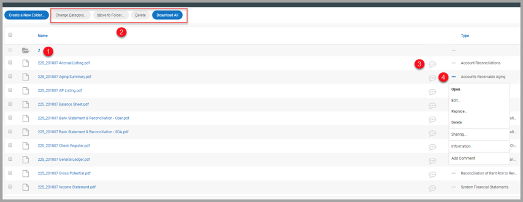
- When inside a selected folder, you can use the upward facing arrow at the top of the document list to back out one level of folders.
- By selecting the checkbox for at least one loaded file, you have the option to:
- Add/Edit the file category – Photo categories are required for the Property Dashboard (exterior photo) and Tearsheet (tearsheet)
- Move selected file(s) to a different folder
- Delete files(s)
- Download file(s)
- You also have the ability to add a comment or note to a loaded file by clicking the speech bubble icon.
- Clicking the ellipses icon provides the following options for the selected document
- Open
- Edit
- Replace
- Delete
- Share within the platform
- Info/specs for that document
- Adding comments
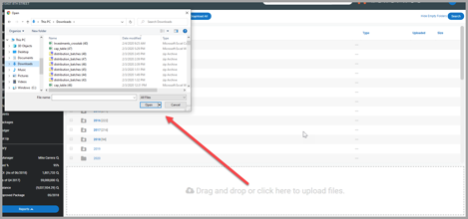
To add files to the project, you can either drag and drop them from where they’re housed on your device in the available space at the bottom of the page. Alternatively, you can click anywhere in the perforated box to browse for your files.