Creating a Lease
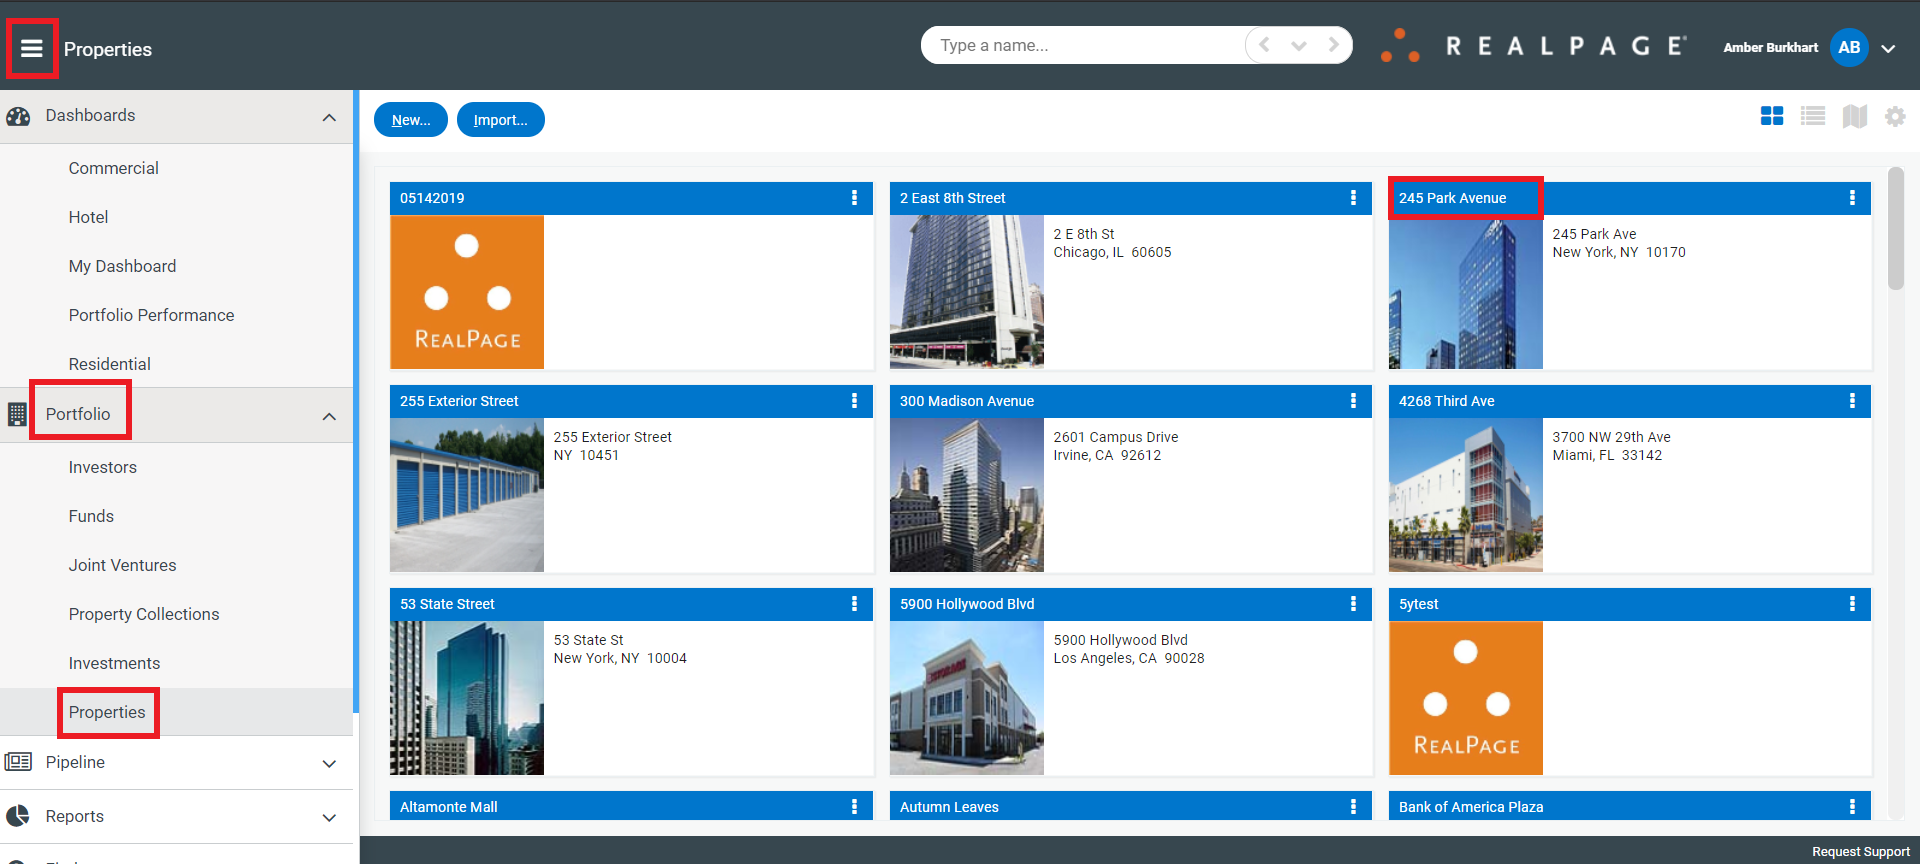
You can create a lease by navigating to the property by clicking the menu>Portfolio>Properties and click on the property.
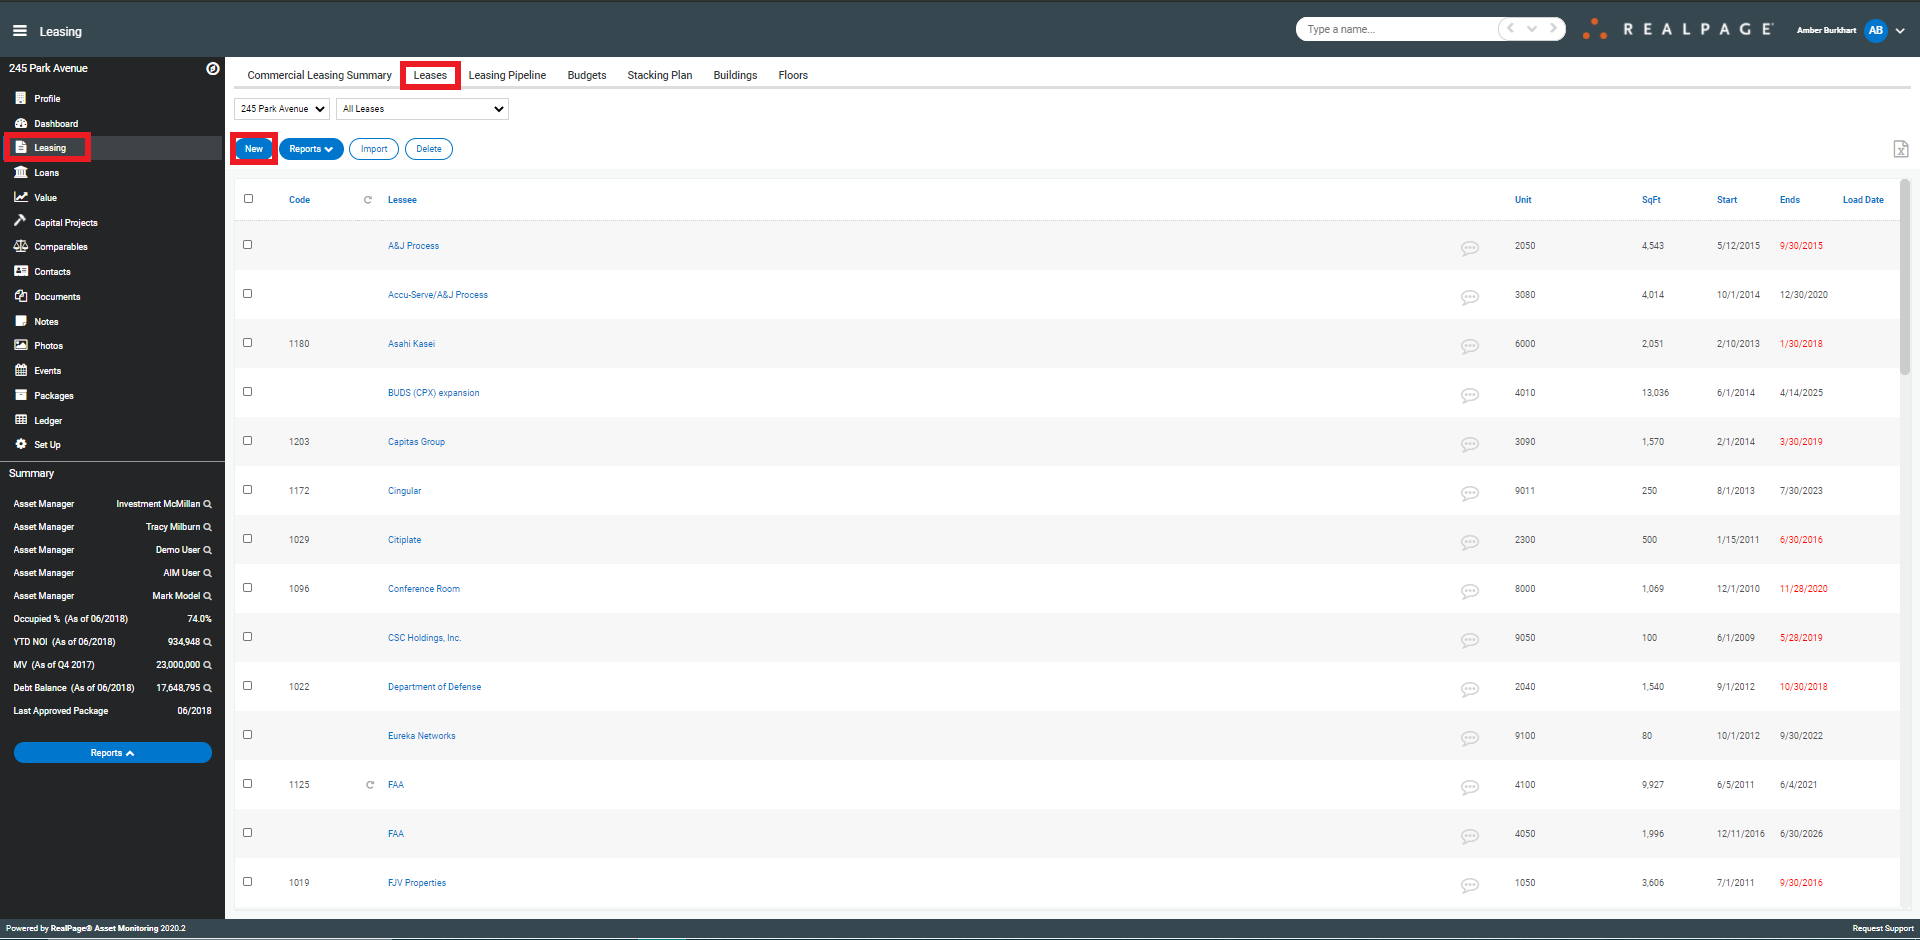
Click on the Leasing tab>Leases>New
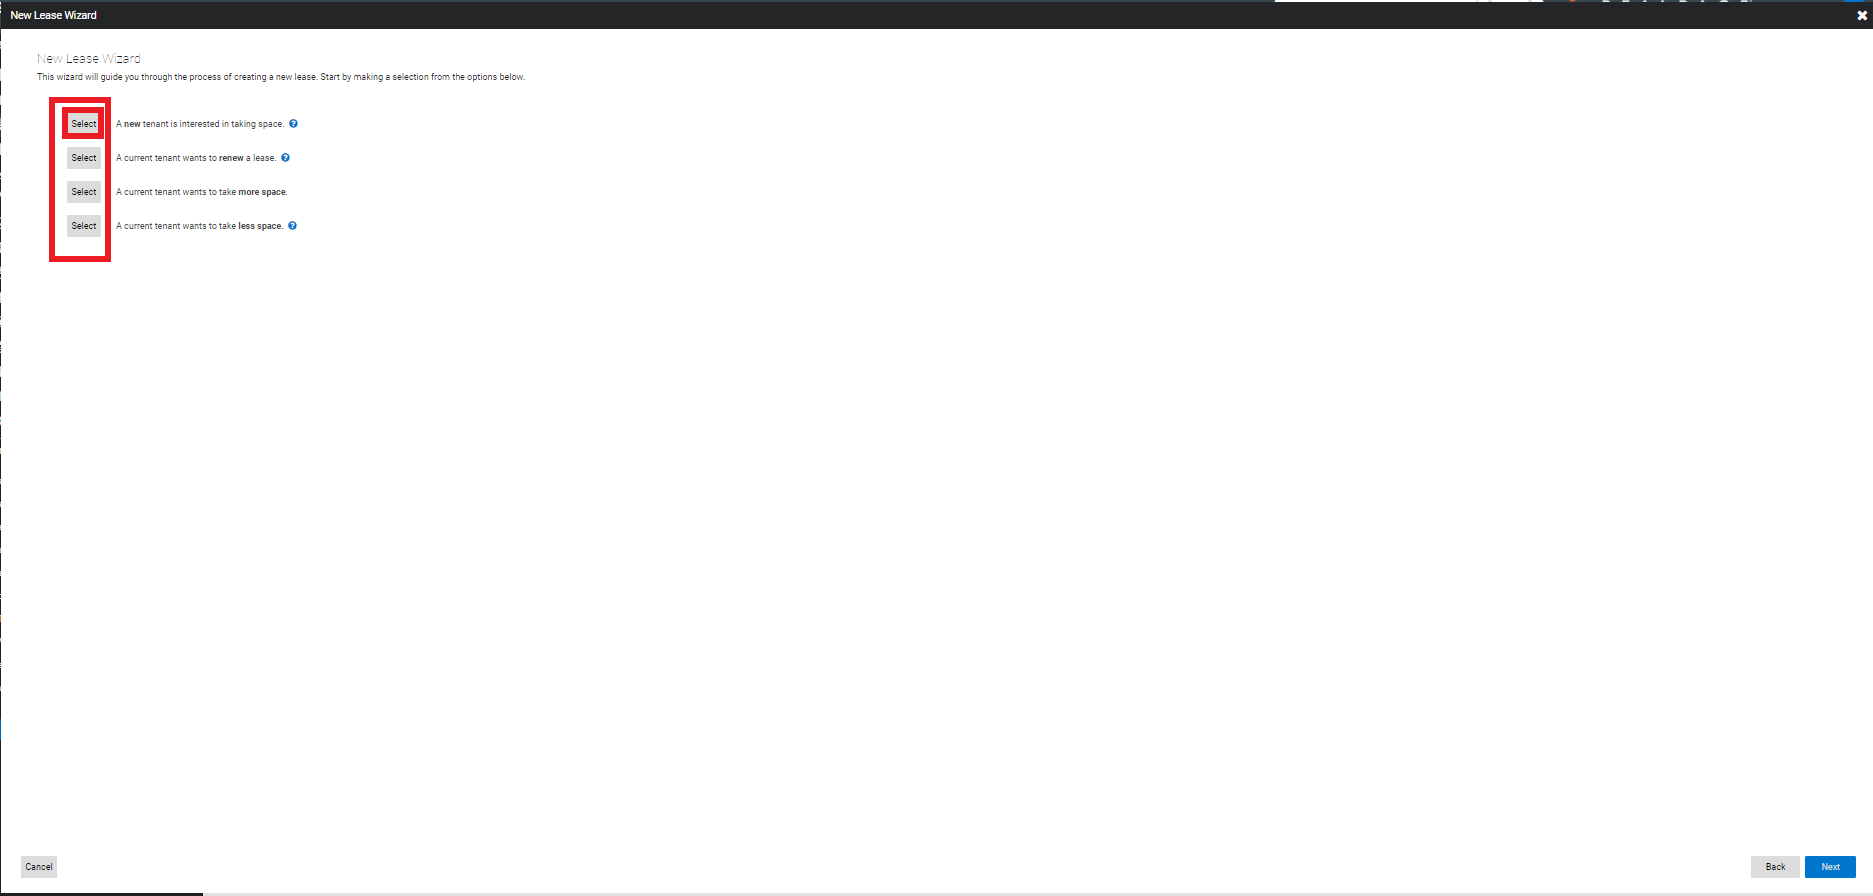
Choose a selection from the wizard that describes the scenario you are trying to create. The options are:
A new tenant is interested in taking space.
A current tenant wants to renew a lease.
A current tenant wants to take more space.
A current tenant wants to take less space.
In this example, we will go with A new tenant is interested in taking space.
Fill out the Tenant Name, Lease Start Date and Lease Term. The term can be changed from months to years, if desired. Then click Next.
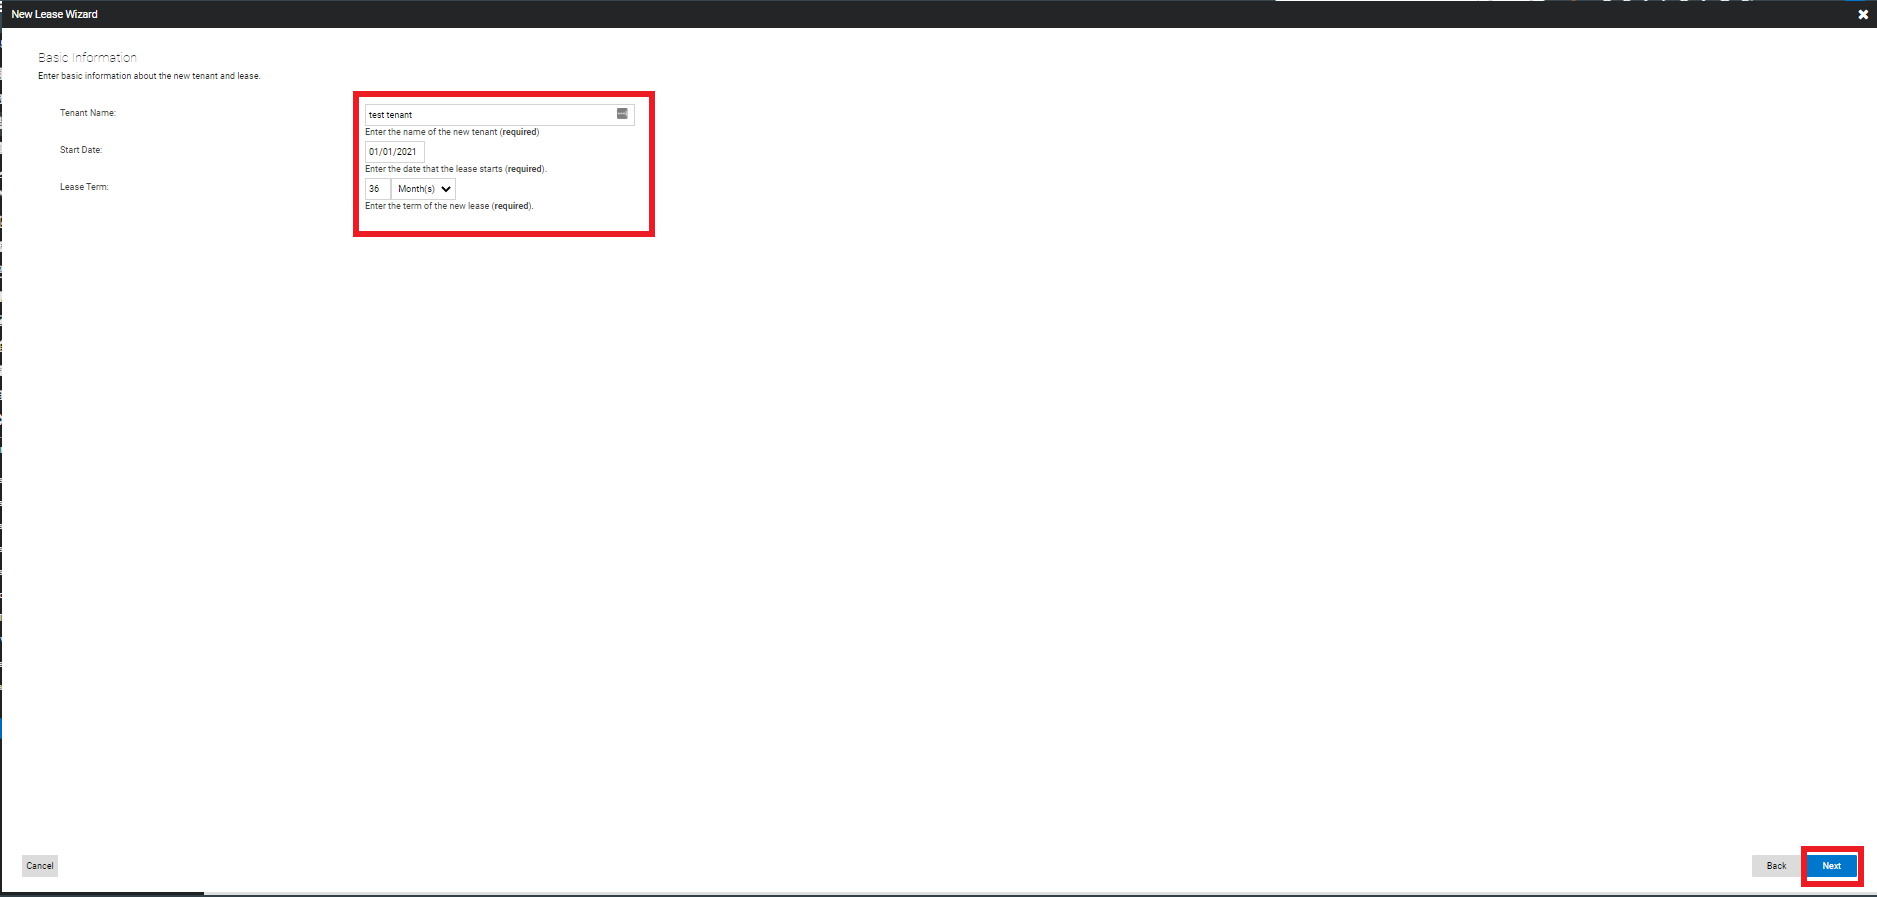
Review the information input so far and select whether or not you would like the lease to open for editing after clicking Done.

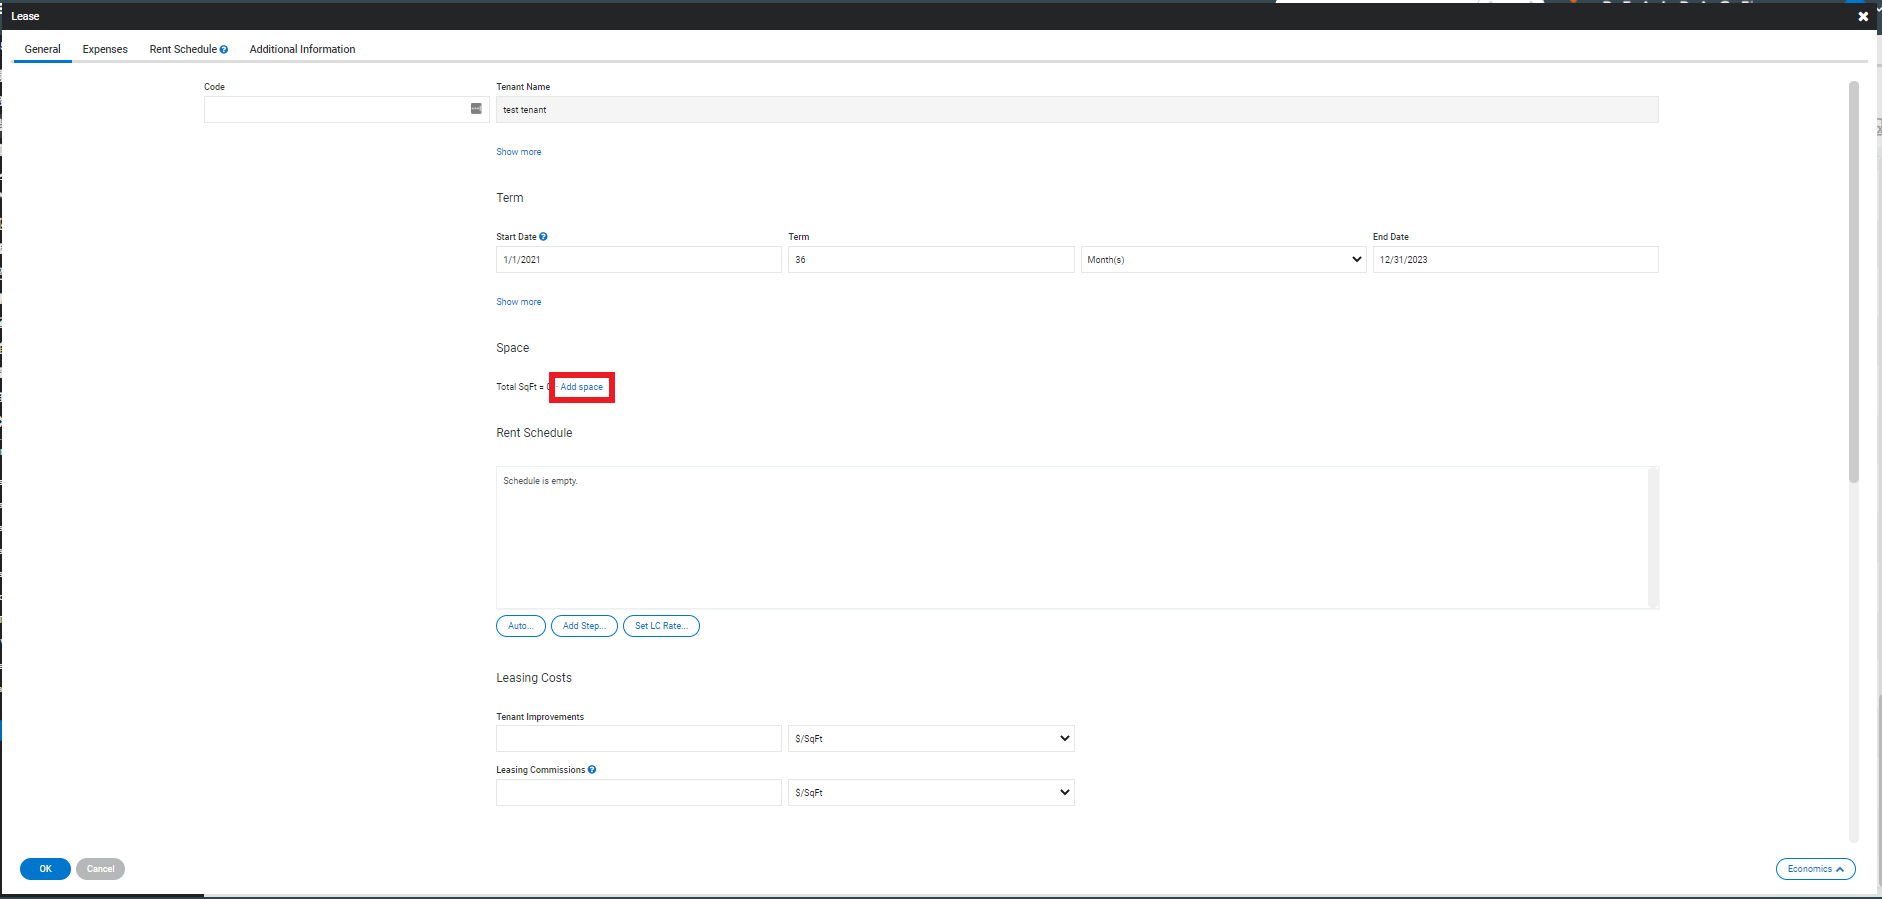
When in the Edit screen, you can add all relevant information for the lease. One important piece of information to remember to add on the General tab is the unit. To do this, click on "Add Space".
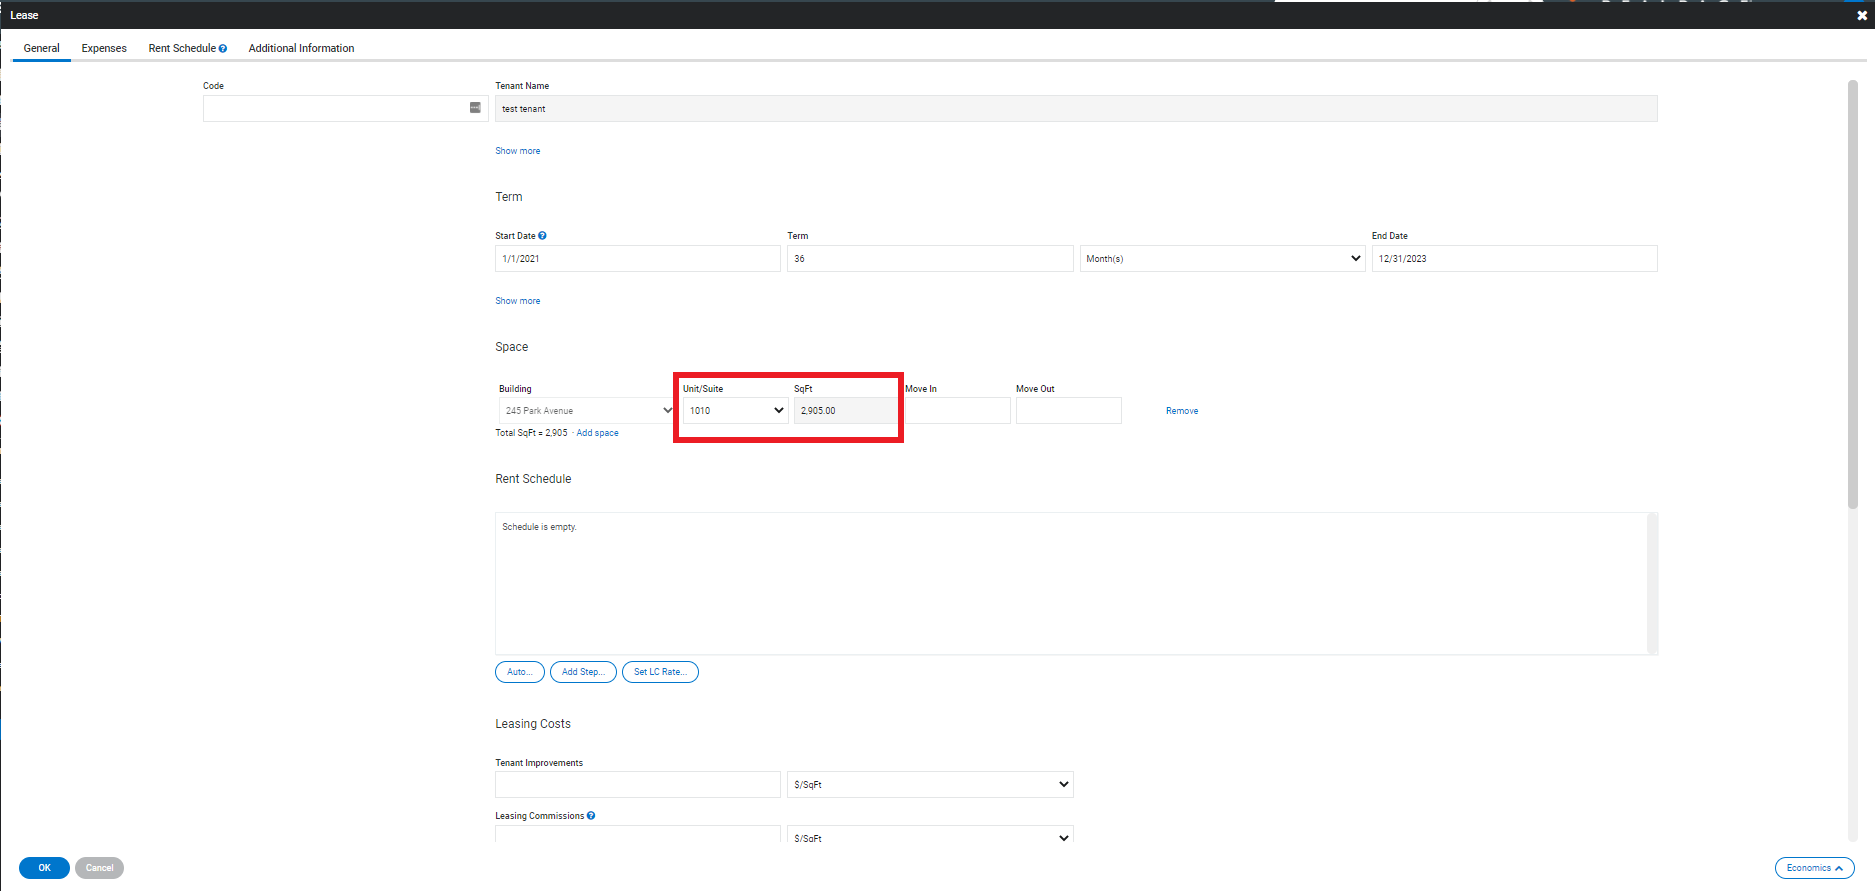
Then you will be able to select the unit number from a drop down menu. Once the unit is chosen, the lease square feet will automatically update based on the unit that was chosen.
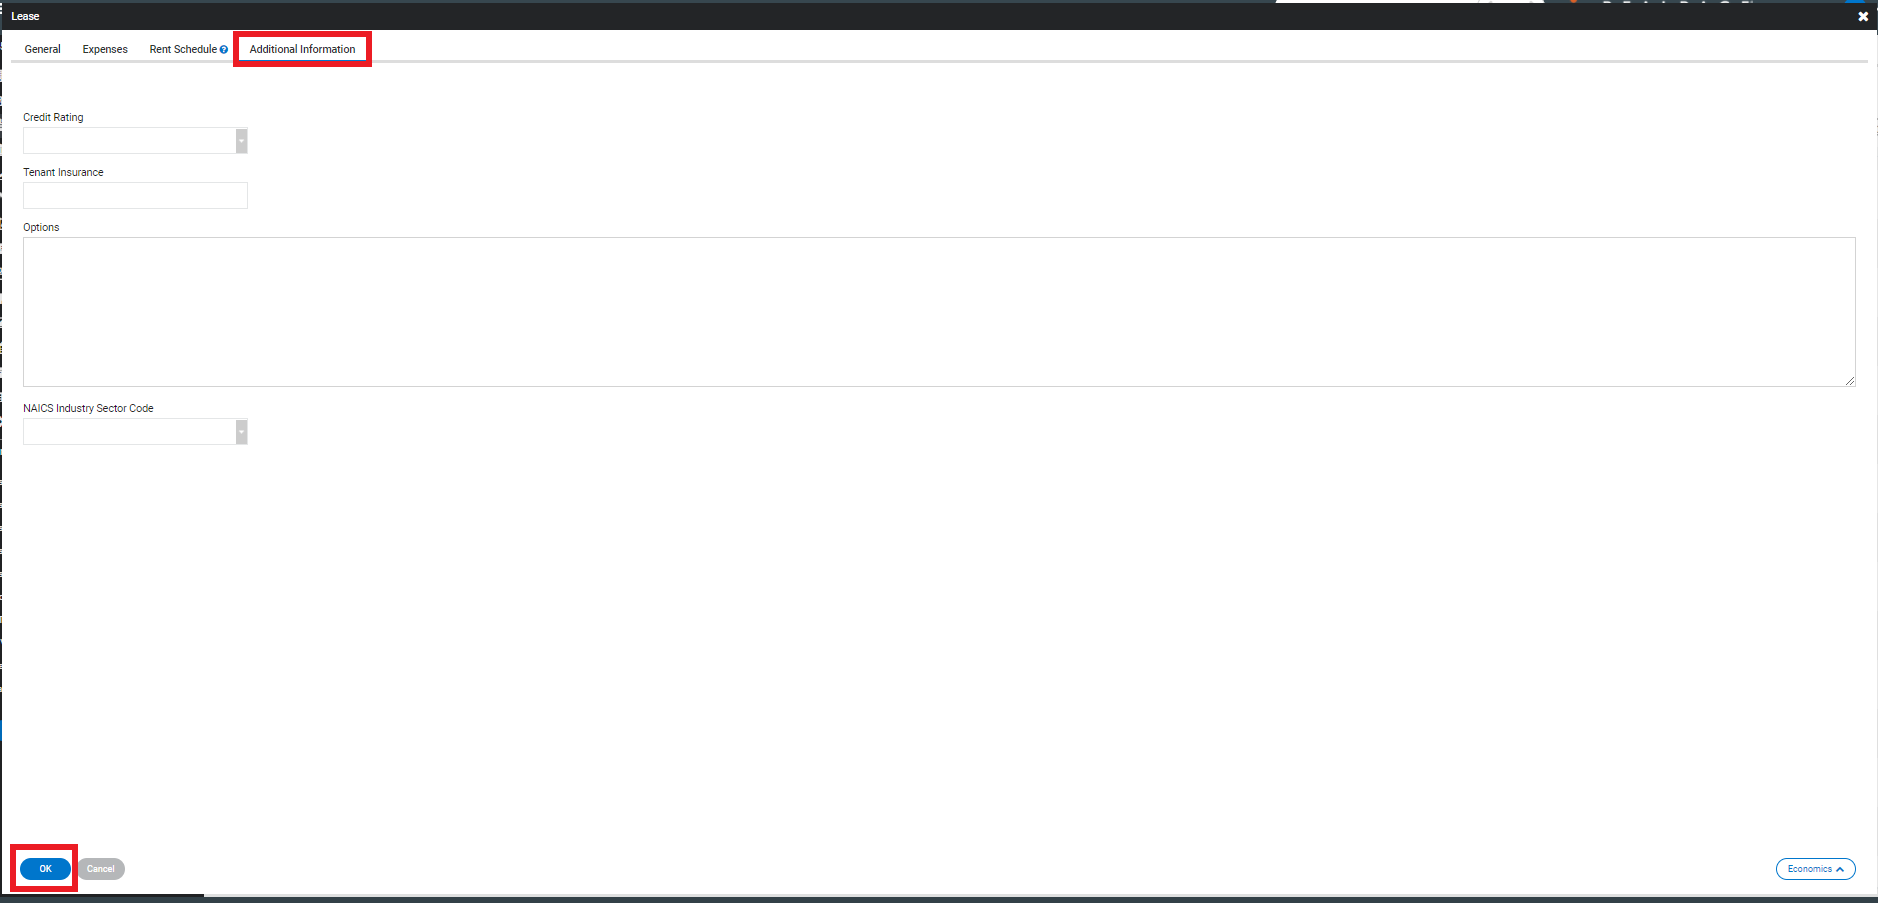
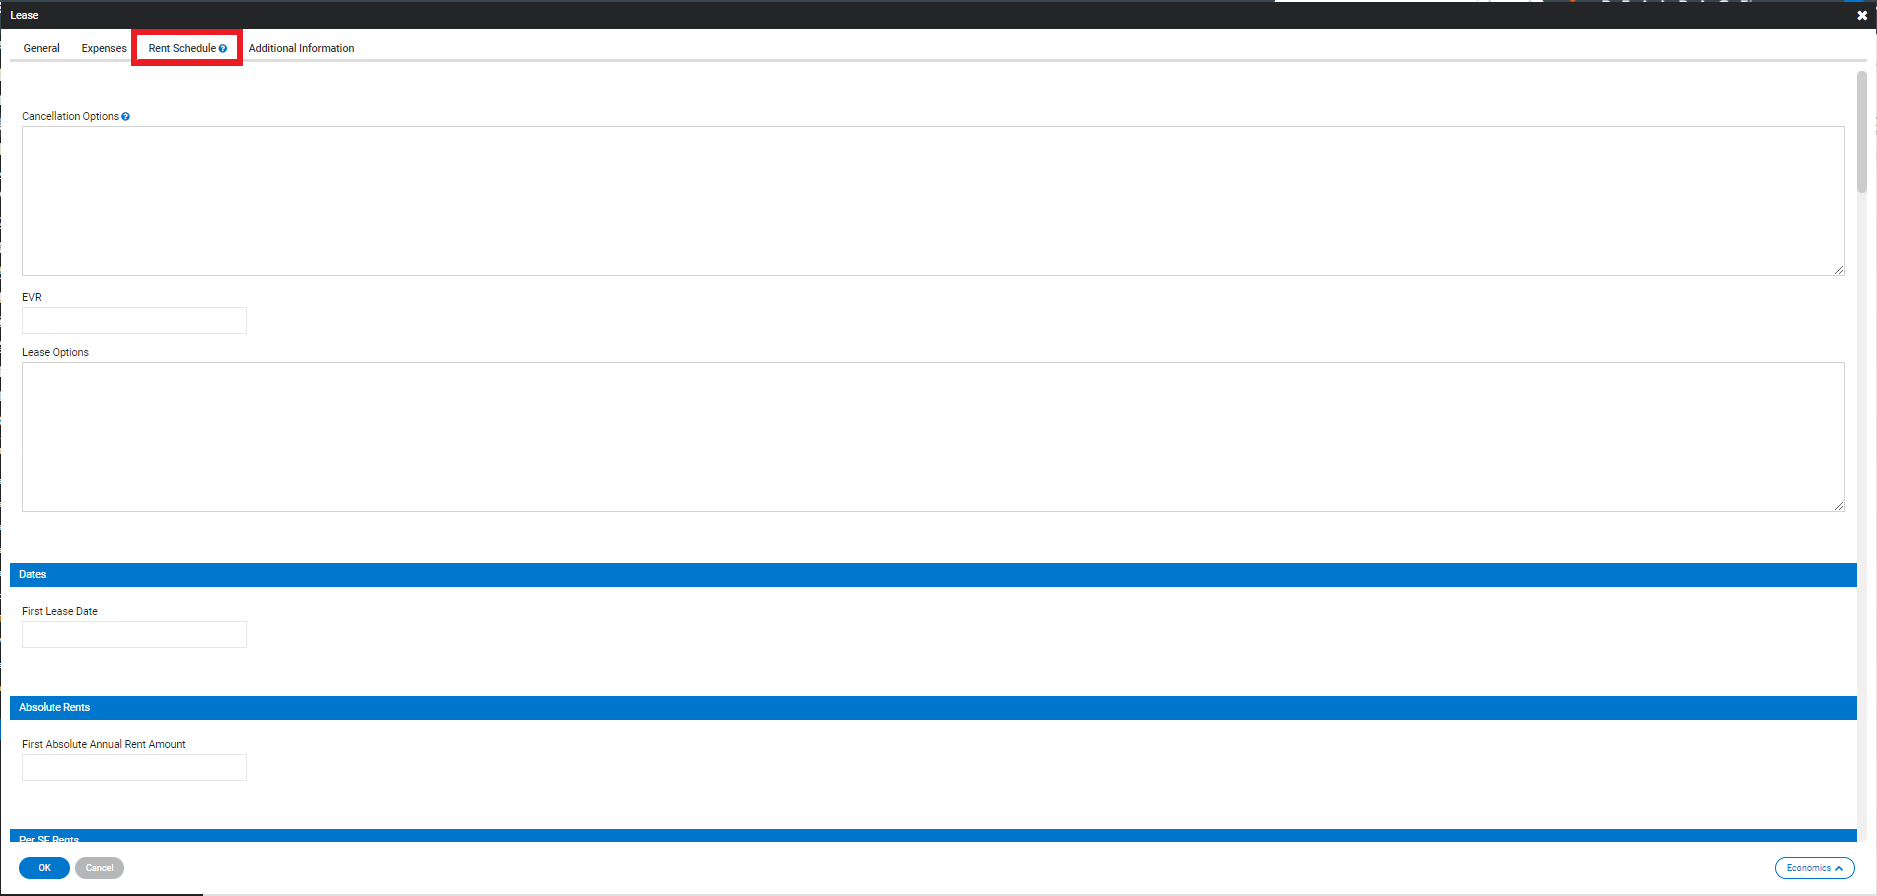
You can also add information on the Expenses, Rent Schedule and Additional Information tabs.
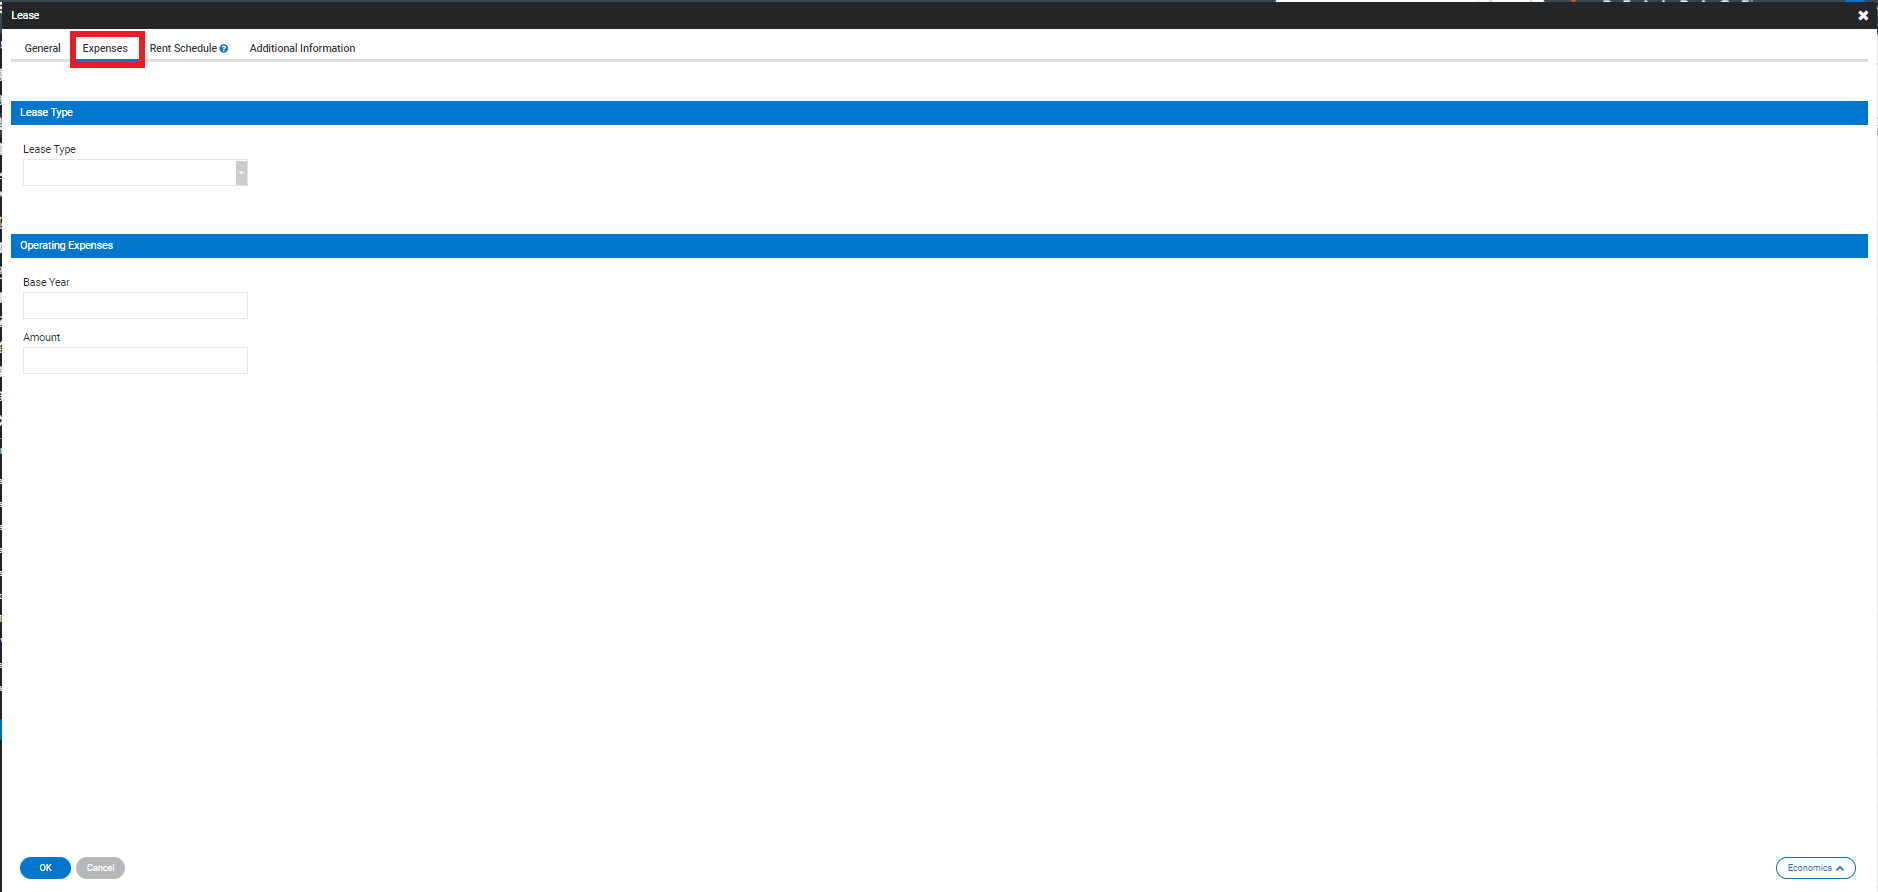
Once you have entered all the information you'd like, click OK.